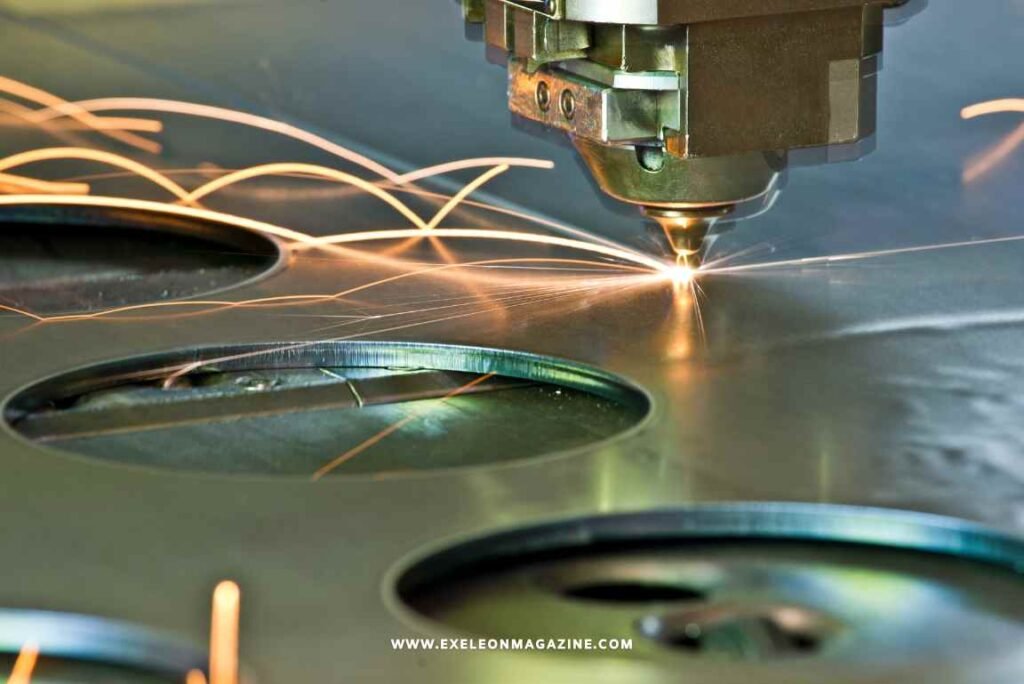
When investing in fiber laser cutting equipment, incorrect power and beam settings can result in significant waste, poor cut quality, and unnecessary production costs. So, how do you determine the optimal laser power and beam diameter for your specific fiber laser cutting application?
The optimal settings depend primarily on material thickness and type: for mild steel, use 2-4kW power with 100-200μm beam diameter for materials up to 20mm thick. For thicker materials, increase power to 6-12kW with beam diameters of 200-400μm.
While these general guidelines are helpful, they serve as a starting point. Different materials, cutting speeds, and surface finish requirements can dramatically affect the optimal settings. Continue reading to learn how to fine-tune these parameters for your specific application and discover critical factors that may impact your final results.
Factors That Affect Your Optimal Laser Power Settings
Material composition plays a crucial role in determining ideal power settings. Highly reflective materials like aluminum and copper require significantly more power than mild steel to achieve the same cut quality. A full range of 2-20kW fiber laser cutting machines is available for industrial applications requiring flexibility and precision when working with diverse material types and thicknesses. Additionally, surface conditions such as rust, scale, or coating can affect how much power is actually absorbed by the material.
The desired cutting speed also influences power requirements. Higher cutting speeds generally demand more power to maintain cut quality. However, there’s always a balance to strike – too much power at high speeds can lead to excessive heat-affected zones (HAZ) and potential material deformation.
How To Choose The Right Beam Diameter For Different Materials
Beam diameter selection primarily depends on material thickness and the type of cut you need. Smaller beam diameters (around 100μm) create narrower kerfs and are ideal for intricate cuts in thin materials. Larger beam diameters (200-400μm) are better suited for thick materials as they provide better edge quality and more stable cutting conditions.
Surface finish requirements should also influence your beam diameter choice. Smaller beam diameters typically produce smoother cut edges but may require slower cutting speeds. Larger beam diameters allow for faster cutting but might result in slightly rougher edges.
Common Signs That Your Laser Power Or Beam Diameter Settings Need Adjustment
Poor cut quality is the most obvious indicator that your settings need tweaking. Watch for signs like excessive dross formation, rough cut edges, or incomplete penetration. If you’re seeing these issues, you might need to adjust either power levels or beam diameter.
Another tell-tale sign is inconsistent cutting performance across different areas of the same material. This could indicate that your power or beam diameter settings aren’t optimal for maintaining consistent heat distribution throughout the cut. Additionally, excessive heat-affected zones or material warping suggest that your power settings might be too high for the application.
How To Test And Optimize Your Laser Settings Before Starting Production
Start with small test cuts on scrap material that matches your production material. Create a test matrix varying both power and beam diameter in small increments, keeping the cutting speed constant. This methodical approach helps identify the optimal solution for your specific application, without wasting valuable production materials.
Document your test results carefully, noting cut quality, kerf width, and any defects. Take photos of the results and maintain a log of settings – this information becomes invaluable when working with similar materials in the future. Remember that environmental factors like temperature and humidity can affect results, so note these conditions as well.
The Role Of Assist Gas In Power And Beam Diameter Optimization
Assist gas choice and pressure significantly impact how power and beam diameter settings perform. Oxygen assist gas, for instance, creates an exothermic reaction that effectively adds more energy to the cut, allowing you to use lower power settings than you would with nitrogen.
When using nitrogen as an assist gas, you’ll typically need higher power settings to achieve the same cut quality. The pressure of your assist gas also matters – too low, and molten material won’t be effectively cleared from the cut; too high, and you might experience turbulence that affects cut quality. The right combination of assist gas parameters can help you optimize your power and beam diameter settings for maximum efficiency.
Taking The Next Step With Your Fiber Laser Settings
Before making any significant adjustments to your current laser settings, create a simple test matrix as described above and run it on some scrap material that matches your production needs. This small investment in time and materials will save you significantly more resources in the long run and provide a documented baseline for future optimization efforts.