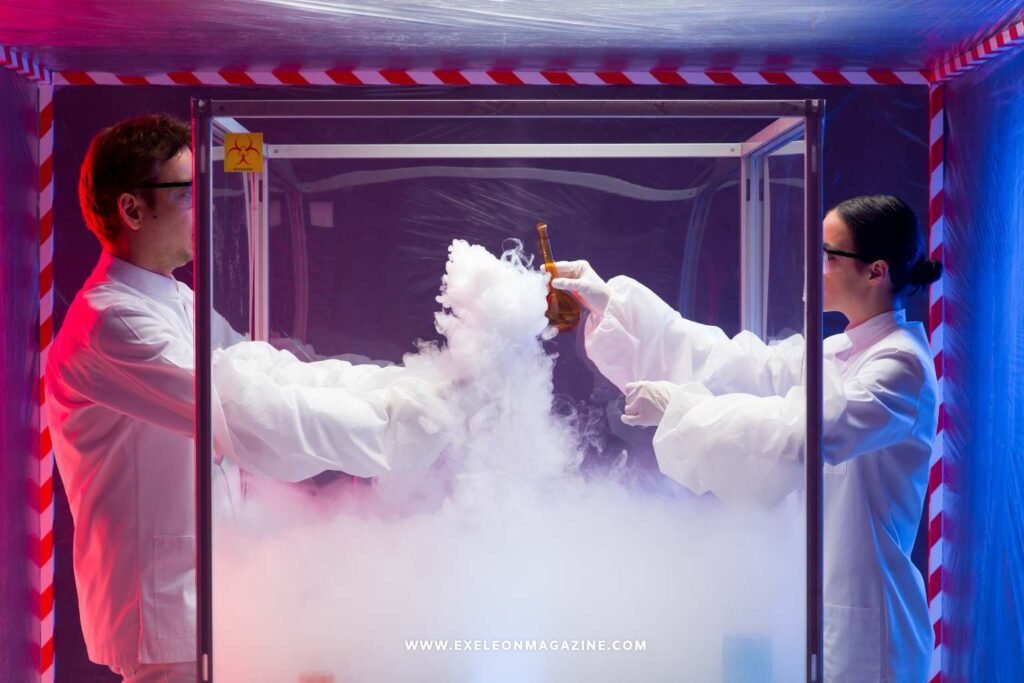
Superglue fuming is one of the most reliable ways to develop latent fingerprints on non-porous surfaces, and most crime labs reach for it every week. The method itself is well understood. What separates a clean, court-ready result from a wasted piece of evidence is control: control over vapor, humidity, timing, and the air the examiner breathes. This guide walks through how the process works, where it tends to go wrong, and what a dedicated chamber actually changes.
The chemistry behind superglue fuming
Cyanoacrylate is the same compound found in ordinary superglue. When it is heated gently, the liquid gives off a vapor of cyanoacrylate monomers. Those monomers polymerize on contact with the moisture, amino acids, and fatty residues left behind in a fingerprint. The reaction builds a white, solid polymer along the friction ridges, turning an invisible latent print into a stable, visible one that can be photographed, lifted, or treated further.
Two things make this valuable in casework. First, the developed print is durable, so it survives handling and later dye staining. Second, the polymer forms selectively on the print residue rather than across the whole surface, which is why ridge detail stands out. That selectivity, though, depends entirely on the conditions inside the chamber.
Why humidity and airflow decide print quality
Cyanoacrylate polymerization needs water. Without enough moisture in the air, the vapor develops prints slowly and unevenly. With too much moisture, or with vapor left to circulate too long, prints over-develop into a thick, frosty deposit that buries the ridge detail you were trying to reveal. Many protocols call for elevated relative humidity during the cycle for exactly this reason.
Airflow is the other half of the equation. Vapor has to reach the evidence evenly, then clear out on a schedule. Uncontrolled air lets fumes pool in one corner and starve another, so identical items in the same run can come out looking very different. A chamber that holds humidity steady and moves vapor in a predictable way is what makes results repeatable from case to case, and repeatability is what holds up under review.
The exposure risks of uncontrolled fuming
Improvised fuming, a heated glue puddle in a fish tank or an open box on a bench, is still common, and it carries real risk. Cyanoacrylate vapor irritates the eyes, nose, throat, and respiratory tract, and overheating the glue can drive off more aggressive decomposition products. In an open room, that vapor does not stay put. It settles on nearby surfaces, exposes anyone in the area, and can contaminate other evidence.
There is an evidence-integrity cost too. Vapor drifting through a shared workspace can partially develop prints on items that were never meant to be in the run, which complicates chain of custody and interpretation later. Containment is not only a safety measure. It protects the casework.
What a purpose-built chamber changes
A dedicated fuming chamber turns a loose procedure into a controlled one. The evidence sits in a sealed enclosure. The glue is warmed in a managed way, humidity is raised to a target level, the cycle runs for a set time, and a purge clears the vapor before the examiner opens the door. Depending on the facility, that vapor is either ducted out of the building or captured by carbon and HEPA filtration on a recirculating unit, which suits labs that cannot run new ductwork.
Corrosion resistance matters more here than people expect, because fuming is usually followed by dye stains and solvents that are hard on cabinet interiors over time. Labs that need to match chamber size to bulky or oversized evidence, or that want filtered rather than ducted extraction, can compare configurations across a range of cyanoacrylate fuming chambers built for that purpose.
Building a repeatable workflow
Good equipment still needs a disciplined process around it. A few habits make the biggest difference:
- Run a known control print in each cycle, so you can confirm development worked before judging the evidence.
- Standardize your humidity and timing, and log them, so a technique that worked can be reproduced and defended.
- Wait for the full purge before opening the chamber, every time, rather than rushing the door.
- Plan for the dye staining and alternate-light examination that often come next, and keep those steps from cross-contaminating each other.
Throughput comes from sizing the chamber to your typical caseload, not from cutting cycles short. A chamber large enough for common items, backed by a larger unit for oversized evidence, keeps runs moving without forcing the shortcuts that quietly degrade print quality.
Choosing a chamber that fits your caseload
Start from the evidence you actually process. The right chamber matches your item sizes, your ventilation reality (ducted or filtered), and the downstream chemistry the cabinet interior has to withstand. If most of your work is small non-porous items, a standard bench chamber may be plenty. If you regularly handle firearms, tools, or large packaging, size and access become the deciding factors. Map your real workflow first, then choose the containment and extraction method that protects both your examiners and your evidence.